Anterior nasal packing
Nasal packing is a second-line therapy. See Epistaxis for more guidance.
This page is for reference, not instruction: you should be shown how to do this by a senior before attempting it on your own.
Preparation
Bleeding has not stopped despite first aid measures or direct therapy to the bleeding point.
Reassure the patient: it is disturbing to have blood continually dripping from your nose and into your throat; clots can give you a choking sensation. Have suction ready to help with this.
Get an assistant
Explain to the patient that you need to insert a nasal pack to stop the bleeding: it is uncomfortable to insert and will give them a headache once it is in. However, in the majority of cases, one pack stops the bleeding.
Explain that, on inserting the pack, blood and clots will be pushed from the nose into the throat and they will need to be ready to spit it all out
Don personal protective equipment including facial protection - patients cough and clear a lot of blood during nosebleeds
Gather your equipment:
Nasal pack (Rapid Rhino® inflatable pack is preferred for patient comfort; Mercoel® or other tampon if this is not available)
Lubricant or sterile water (not saline) in a bowl as appropriate
Paper towels
Plenty of bowls/kidney dishes
A 10ml syringe if needed
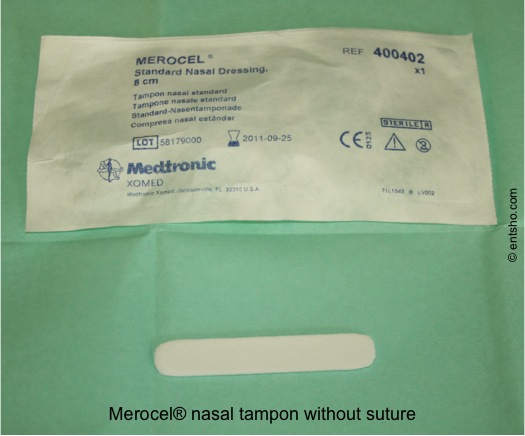
Merocel nasal tampon without a suture - if you come across these, secure a suture to one end before use
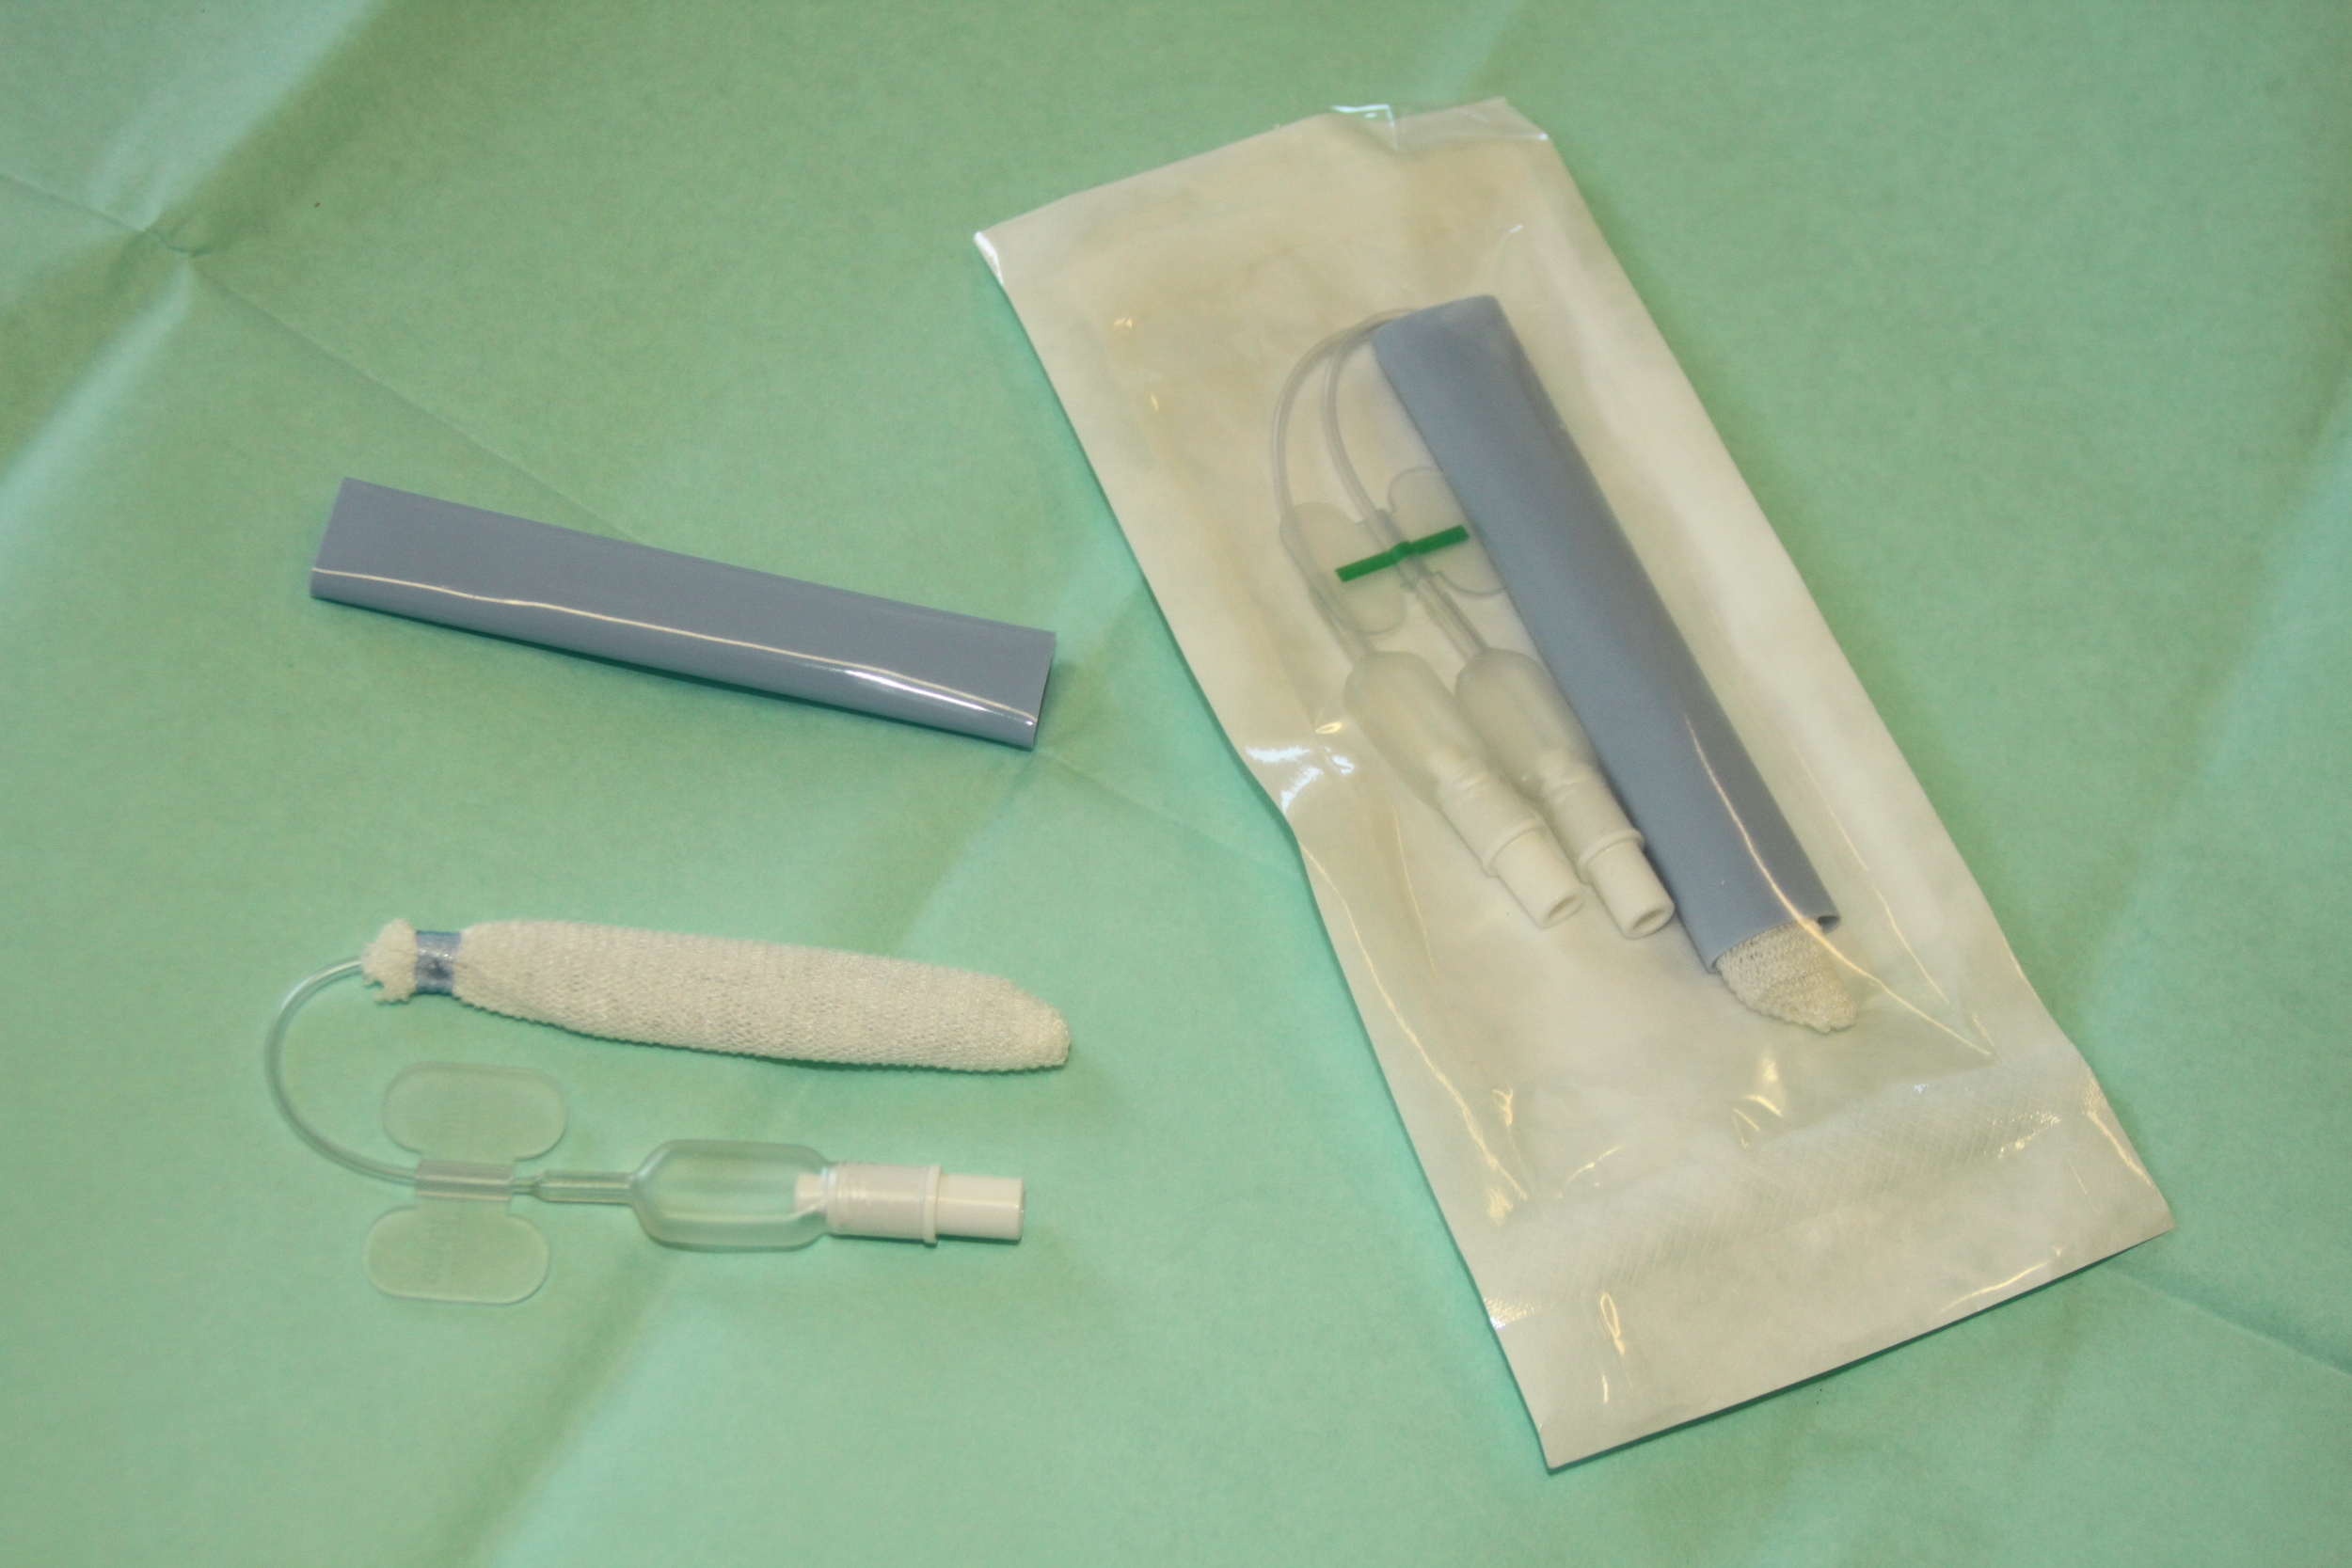
Rapid Rhino inflatable packs: 7cm (left) and double-balloon 9cm (right)
Insertion
If using a Merocel® or other dry sponge tampon:
You must put a suture through the tampon if it does not already have one: never put anything in the nose without leaving some way of pulling it out
Some people lubricate the tip of the tampon - use any lubricant
With your non-dominant hand, push up on the tip of the nose to see into the bleeding nostril
The space you are aiming for is medial and inferior; you should insert the pack against the septum and aiming in the same vertical plane as the ear lobe
In one motion, push the pack into the nose
The outer tip of the pack should sit next to the tip of the nose
The blood should wet the sponge and it will expand; if not, then you can encourage it with a drop of water


Aim for the earlobe
If using an inflatable coated Rapid Rhino® or other pack:
YouTube clip: Rapid Rhino® Insertion NOTE This is a very useful animation of the insertion process but we don't endorse everything that is said, particularly discharging packed patients
Remove the pack from its sleeve
Place it in a bowl of sterile water for 30 sec (not saline - it inactivates the coating) until the white coating goes translucent
Do not leave in the water too long as the coating will fall off
With your non-dominant hand, push up on the tip of the nose to see into the bleeding nostril
The space you are aiming for is medial and inferior; you should insert the pack against the septum and aiming in the same vertical plane as the ear lobe
In one motion, push the pack into the nose
The outer tip of the pack should sit just inside the entrance to the nostril, so that the pack does not distend the nostril when inflated
Attach a syringe full of air and inflate until the pilot cuff is firm with some bounce
There is no set amount of air; the pilot cuff is your guide
Be wary that every time you attach a syringe to the Luer connection you open the valve - you may inadvertently deflate the pack so always double-check the pressure in the pilot cuff

Tip: The space you are aiming for is medial and inferior because the turbinates (IT and MT) are lateral and superior; a good landmark is to aim in the same vertical plane as the ear lobe as this will help you find the floor of the nose
Problems
Step 1: bleeding continues
Is the pack sitting in the right place? Too far out = the walrus sign, where half the pack hangs over the upper lip; too far in = the outer tip of the pack is not visible
Have you inflated enough, or has the pack pressure decreased? (Sometimes relaxation of the tissues can necessitate some supplemental inflation later).
Step 2: bleeding still continues
Insert a pack on the contralateral side to provide counter-pressure
Ensure the second pack is placed properly (see Step 1)
Step 3: bleeding still continues despite Step 2
Discuss with an experienced ENT surgeon (experienced SHO or the middle grade)
Consider posterior nasal packing and/or operative intervention
Resuscitate in parallel
Afterwards
Full history and ABCDE assessment
Inspect the oropharynx for continued brisk bleeding (there will be clots)
Secure IV access and send blood including FBC, G&S and INR if indicated
Document the vitals/observations; resuscitate if necessary; know that packing will raise blood pressure transiently
Tape the suture or pilot cuff to the cheek and apply a nasal bolster (either a wad of gauze rolled up and stuck under the nose or a wad of gauze pulled through a length of finger-diameter Tubinette® which is then tied behind the head)

What we used to use: a Cornish nasal bolster
Page last reviewed: 9 December 2019